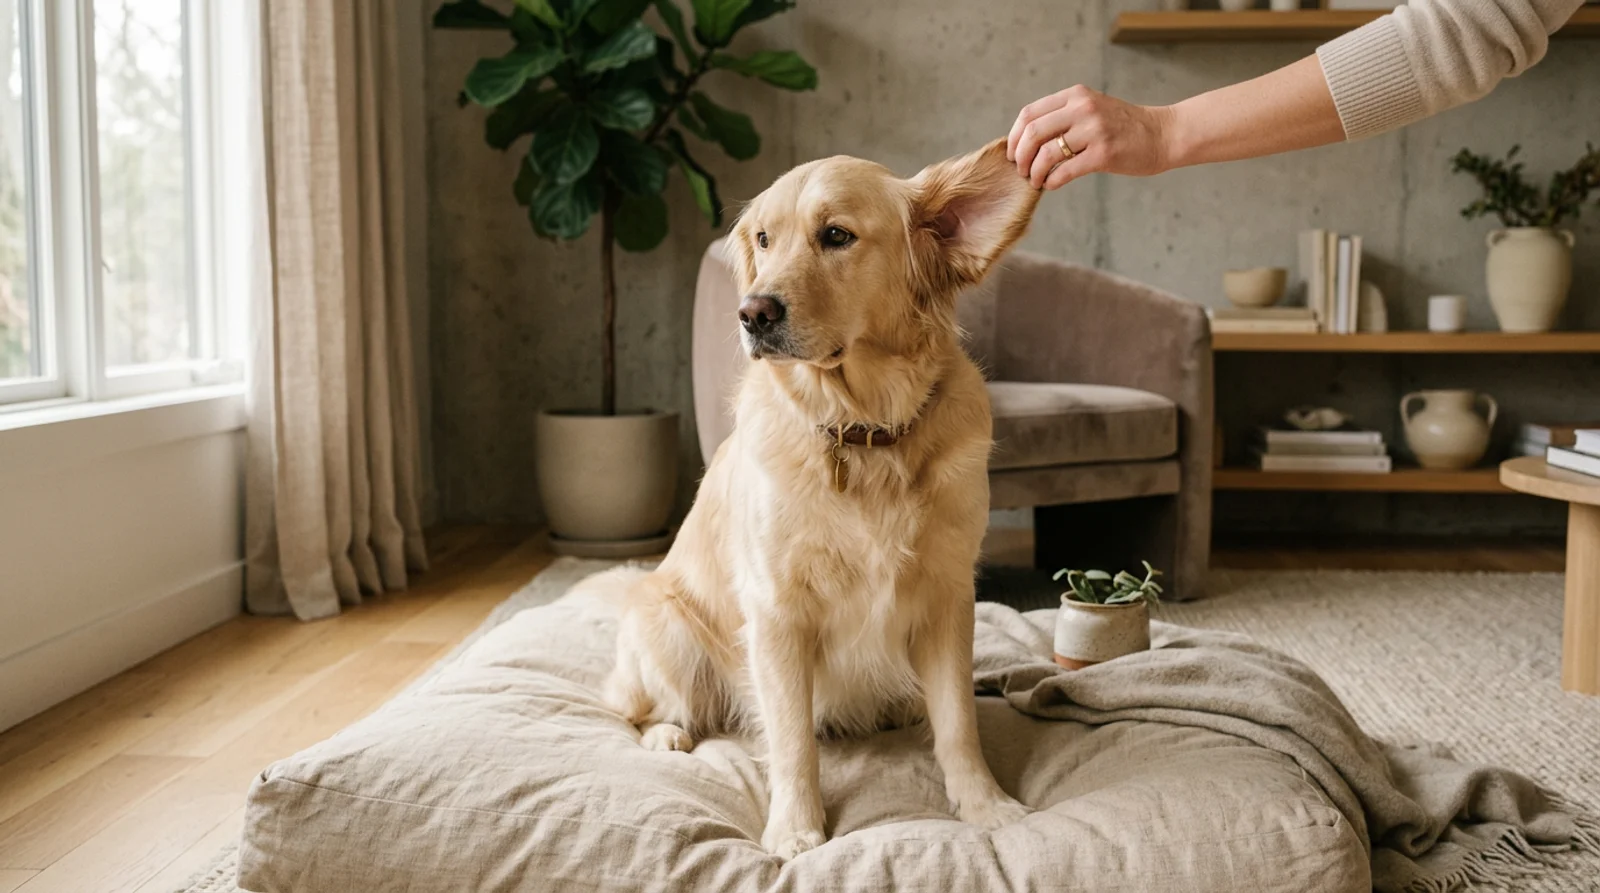
How to Clean Your Dog's Ears Safely at Home
How to Clean Your Dog's Ears Safely at Home
Clean your dog's ears when they look dirty or waxy—typically every one to four weeks, depending on breed, ear shape, and how much time they spend wet. Most healthy dogs don't need weekly cleaning. Over-cleaning irritates the delicate ear canal and strips away the natural protective barrier that keeps infections at bay.
Our team has cleaned a lot of ears over the years, from the perpetually floppy, humid ears of Cocker Spaniels to the tidy, upright triangles of German Shepherds that barely accumulate wax. The difference isn't just genetics; it's understanding what your individual dog actually needs. A Labrador who swims three times a week in Ontario lakes will need more frequent ear care than a Shih Tzu who lives indoors. Let's walk through exactly how to clean dog ears without causing harm, and—just as important—how to recognize when cleaning won't help and it's time to see your vet.
Why Dog Ear Care Matters
Dogs' ear canals are L-shaped, which traps moisture, debris, and wax far more effectively than our straight human ear canals. That anatomy makes them vulnerable to infections, especially if they have heavy, pendulous ears (Basset Hounds, Bloodhounds, Cavaliers) that block airflow, or if they're prone to allergies. Poodles, Doodles, and some terriers grow hair inside the ear canal, creating another layer of obstruction.
Regular, gentle cleaning removes dirt and excess wax before it becomes a problem. But—and this matters—cleaning is maintenance, not treatment. If your dog's ears are red, swollen, smell yeasty or foul, or if they're shaking their head constantly, cleaning won't fix it. You're looking at an infection, allergy flare-up, or foreign object, and your vet needs to see it.
How Often Should You Clean Your Dog's Ears?
There's no universal schedule. We recommend checking your dog's ears weekly and cleaning only when needed.
Clean more frequently (every 1–2 weeks) if your dog:
- Has floppy ears that trap moisture
- Swims regularly
- Has a history of ear infections
- Is prone to allergies (environmental or food-related)
- Grows hair in the ear canal
Clean less often (every 3–4 weeks or as needed) if your dog:
- Has upright, well-ventilated ears
- Stays dry and indoors most of the time
- Produces minimal wax
- Has never had an ear infection
Some dogs go months without needing a cleaning. A healthy ear has a light pink colour, no odour, and just a trace of pale wax. If that describes your dog's ears every time you check, leave them alone.
What You Need to Clean Dog Ears
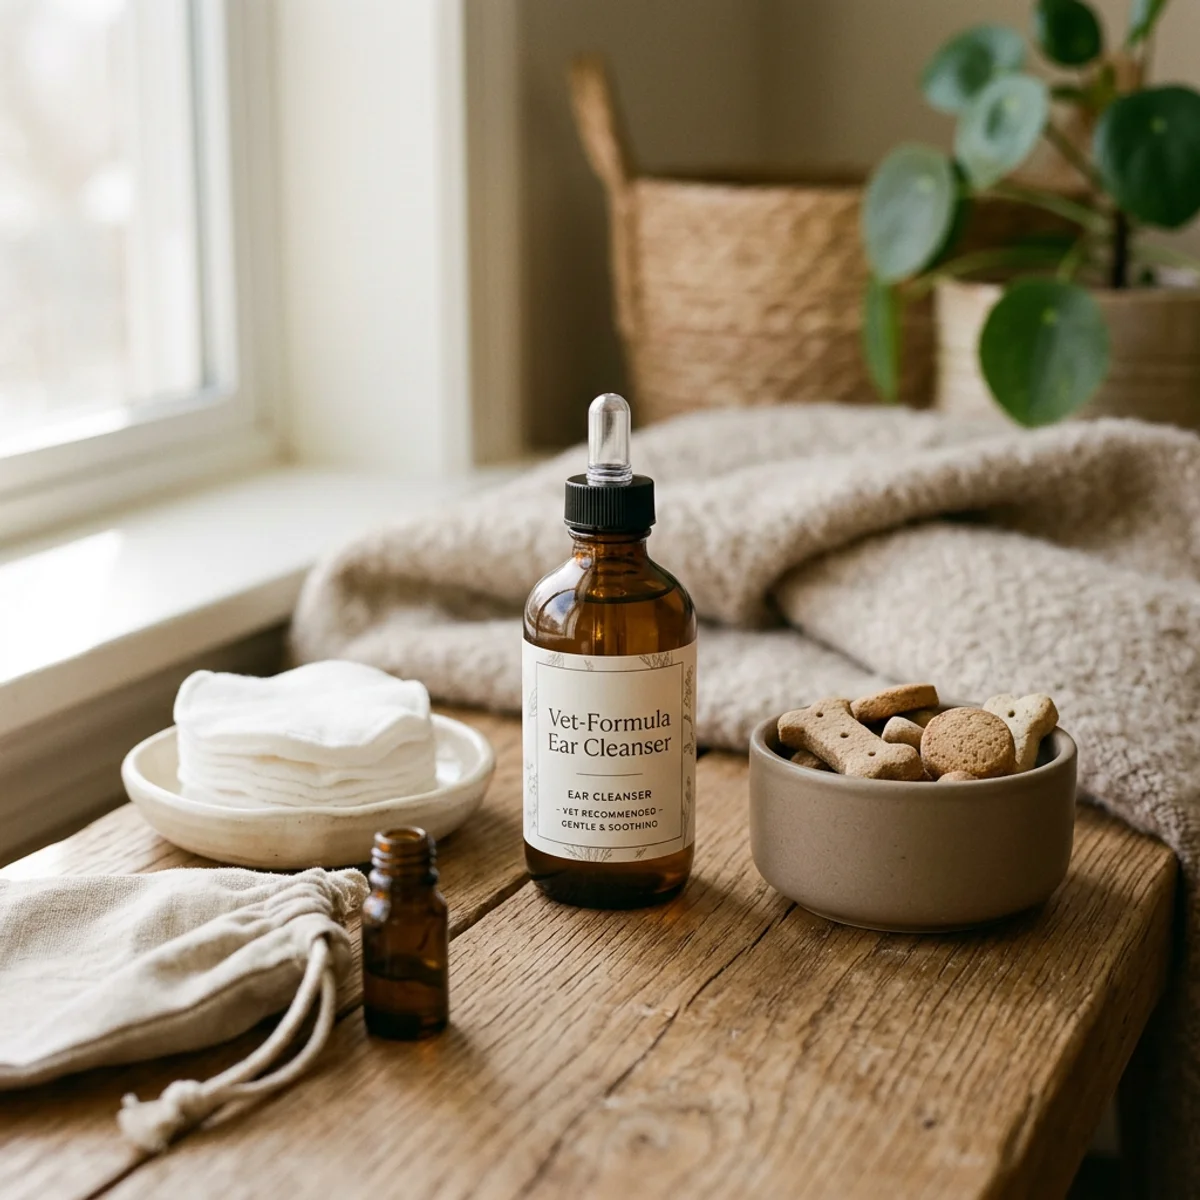
Keep your supplies simple:
- Veterinary ear cleaner: a pH-balanced, non-irritating solution designed for dogs. Look for products containing ingredients like salicylic acid (gentle keratolytic), or soothing agents like aloe. Never use hydrogen peroxide, alcohol, or witch hazel—they sting and dry out the ear canal.
- Cotton pads or gauze squares: soft, absorbent, and large enough to wrap around your finger. Avoid cotton balls, which shed fibres.
- Treats: high-value rewards to make the experience positive.
- A towel: ears get messy when your dog shakes.
Do not use cotton swabs (Q-tips) inside the ear canal. You can't see where the canal turns, and it's far too easy to pack debris deeper or damage the eardrum.
How to Clean Your Dog's Ears: Step-by-Step
1. Choose the Right Time and Place
Pick a moment when your dog is calm—after a walk or play session works well. We do this in the bathroom or on an easy-to-clean floor, because your dog will shake and fling ear cleaner everywhere.
2. Let Your Dog Sniff the Bottle
Introduce the ear cleaner bottle. Let them investigate. Pair it with a treat. If your dog is anxious, spend a few days just rewarding them for being near the supplies before you start.
3. Lift the Ear Flap and Fill the Canal
Gently lift the ear flap (pinna) to expose the opening of the ear canal. Hold the bottle tip close but not touching, and squeeze enough solution to fill the canal—usually 1–2 mL for a small dog, up to 5 mL for a large breed like a Golden Retriever. You'll see the liquid pool at the opening. It might feel like a lot; that's normal.
4. Massage the Base of the Ear
Still holding the ear flap up, massage the base of the ear (the cartilage-covered area just below the opening) for 20–30 seconds. You'll hear a squishing sound as the solution breaks up wax and debris inside the canal. This step is crucial—don't skip it.
5. Let Your Dog Shake
Step back, release the ear, and let your dog shake their head. The centrifugal force brings all the dissolved gunk up and out of the canal. Stand clear or drape the towel over their head if you want to contain the spray.
6. Wipe the Outer Ear and Canal Opening
Wrap a cotton pad or gauze around your index finger and gently wipe the visible part of the ear canal opening and the folds of the outer ear (pinna). Use a fresh pad for each ear. Wipe away any brown wax, dirt, or excess solution. Do not probe into the canal—just clean what you can see.
7. Reward Generously
Give treats, praise, a favourite toy. Make this a positive ritual. The more cooperative your dog is now, the easier it will be next time.
Repeat on the other ear if needed. Some dogs only have one problem ear; clean what requires it.
Signs Your Dog Needs Veterinary Care, Not Cleaning
Cleaning is for maintenance and prevention. If you see any of these signs, book a vet appointment before you clean:
- Redness or swelling of the ear flap or canal opening
- Foul, yeasty, or sweet odour (not just a mild waxy smell)
- Discharge: yellow, green, black, or blood-tinged
- Pain: your dog yelps, pulls away, or won't let you touch their ear
- Head shaking or tilting that persists
- Scratching at the ear constantly
- Balance problems or circling
These indicate infection (bacterial or yeast), ear mites, a foreign body (grass awn, foxtail), allergies, or even a ruptured eardrum. Cleaning an infected ear without veterinary treatment can drive bacteria deeper and worsen the problem. Your vet will examine the ear with an otoscope, identify the cause, and prescribe the right medication—often a medicated drop containing antibiotics, antifungals, or corticosteroids.
In our experience, the most common mistake pet parents make is cleaning repeatedly when the real issue is untreated allergies. If your dog's ears are constantly dirty or smelly despite regular cleaning, don't just clean harder—investigate the underlying cause with your vet.
How to Prevent Dog Ear Infections
Regular cleaning helps, but it's only part of the picture.
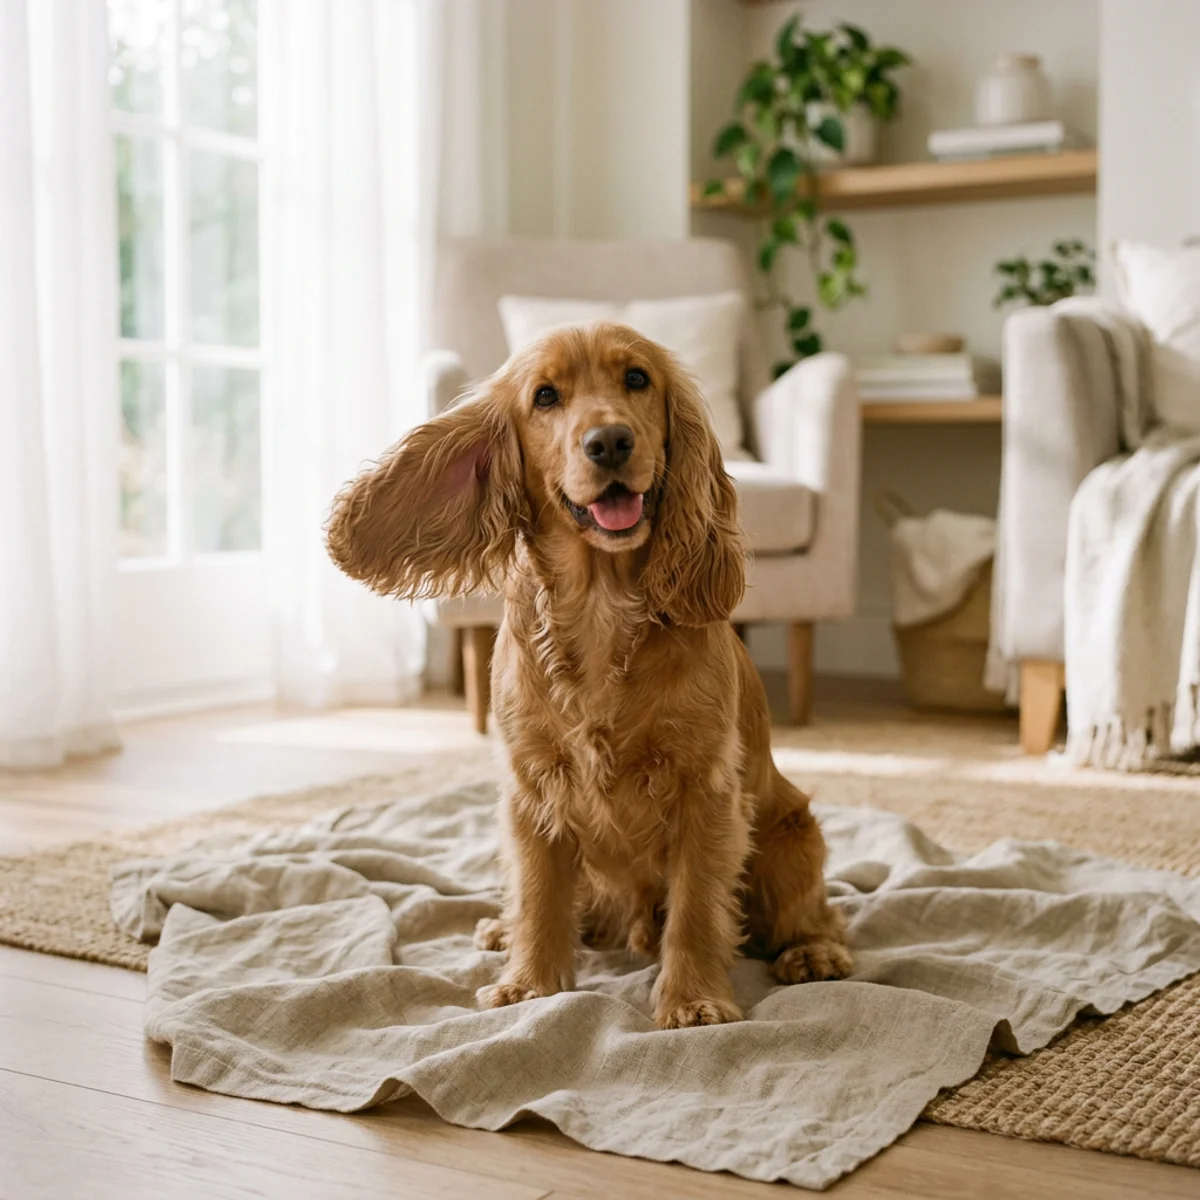
Keep ears dry. After swimming, bathing, or a romp in the rain, gently dry the outer ear and ear flap with a towel. You can also use a few drops of drying ear solution (not cleaner) made for post-swim care.
Manage allergies. Environmental allergens (pollen, dust mites) and food sensitivities both manifest as itchy, inflamed ears. If your dog has chronic ear trouble, work with your vet to identify and control the allergy—diet trials, antihistamines, immunotherapy, or prescription diets may all play a role.
Trim or pluck ear hair carefully. Breeds like Poodles and Schnauzers often need hair removed from the ear canal to improve airflow. Some groomers pluck it; others trim it. We've seen dogs whose ears became more irritated after aggressive plucking, so ask your groomer or vet for the gentlest method. If your dog tolerates grooming well, regular trimming works beautifully. If they're sensitive, leave it to a professional.
Don't over-clean. Ears have a natural microbial balance and a thin protective layer of wax. Cleaning too often strips that protection and can cause irritation or even promote infection. Weekly cleaning is excessive for most dogs unless specifically prescribed by your vet.
Check ears regularly. Fold back the ear flap once a week and take a look. Catching a problem early—before your dog is in pain—makes treatment faster and easier. This habit matters more than any cleaning schedule.
Dog Ear Cleaning Routine: Building the Habit
If you're starting fresh, here's a realistic routine:
- Week 1–2: Just handle your dog's ears daily. Lift the flap, look inside, give a treat. Build positive associations.
- Week 3: Introduce the ear cleaner bottle (closed). Let them sniff it, treat.
- Week 4: Do your first cleaning following the steps above. Go slowly. Reward at every stage.
- Ongoing: Check ears weekly. Clean only when they look or smell dirty—usually every 2–4 weeks for most dogs.
For puppies, start ear handling early (around 8–10 weeks) even if you never clean them. A dog who's comfortable with ear exams will make vet visits and grooming infinitely easier. This is part of the broader work of socialization and handling that pays off for years.
For senior dogs who develop ear issues later in life, patience is key. Older dogs may have arthritis that makes head positioning uncomfortable, or they may be less tolerant of new routines. Go slower, use higher-value treats, and consider having a second person help stabilize and comfort them. Our senior dog care guide covers more about adapting care routines as dogs age.
Choosing the Right Ear Cleaner
Not all ear cleaners are created equal. Look for:
- Veterinary formulation: products designed specifically for dogs, available through your vet or pet specialty retailers.
- Gentle, non-irritating ingredients: avoid alcohol, hydrogen peroxide, and anything with artificial fragrance.
- Appropriate for routine cleaning: some products are medicated (for infections) and shouldn't be used for maintenance. Read the label.
We've had great results with solutions that contain mild acids (like salicylic or boric acid) to help break down wax, plus soothing agents like aloe or chamomile. If your dog has sensitive skin or a history of allergies, ask your vet to recommend a hypoallergenic formula.
If your dog swims regularly, consider keeping a separate drying solution on hand (usually contains isopropyl alcohol in a very dilute, buffered form designed only for drying, not cleaning). Use it after swimming, not as your main cleaner.
FAQ
How do I know if my dog's ears are infected or just dirty?
Dirty ears have brown or tan wax, no odour, and your dog doesn't mind you touching them. Infected ears are red, swollen, have a strong yeasty or foul smell, and often produce yellow, green, or black discharge. Your dog will usually scratch, shake their head, or pull away when you touch the ear. If you're unsure, err on the side of caution and see your vet.
Can I use home remedies like vinegar or coconut oil to clean my dog's ears?
We don't recommend it. Vinegar (even diluted) can sting if there's any irritation or micro-abrasion in the ear canal, and coconut oil doesn't effectively break down wax or debris—it just coats everything. Veterinary ear cleaners are inexpensive, pH-balanced, and designed not to irritate. There's no need to DIY this.
My dog hates having their ears cleaned. What can I do?
Go back to basics. Spend a week just touching and lifting the ear flap, pairing it with treats, without cleaning. Use truly high-value rewards—real chicken, cheese, freeze-dried liver. Work in short sessions (30 seconds to start). Gradually introduce the bottle, then one drop of solution, then a full cleaning over several days or even weeks. Some dogs do better with two people—one to cuddle and treat, one to clean. If your dog is genuinely panicked, ask your vet or a professional groomer to do it, or inquire about anti-anxiety strategies.
How often should dogs with allergies have their ears cleaned?
It depends on the severity. Dogs with well-managed allergies might need cleaning every 1–2 weeks. Dogs with active flare-ups may need medicated ear drops prescribed by your vet, not just cleaning. Regular cleaning helps remove allergens (pollen, dust) from the ear canal, but it won't treat the underlying inflammation—your vet may recommend antihistamines, immunotherapy, or dietary changes alongside the cleaning routine.
Keeping Ears Healthy for the Long Run
Cleaning your dog's ears at home is straightforward once you know what you're doing. The real skill isn't in the mechanics—it's in reading your dog's ears, knowing when to clean and when to stop, and recognizing early signs of trouble. A dog with healthy ears is more comfortable, less prone to chronic infections, and far easier (and cheaper) to care for over their lifetime.
Check weekly, clean only when needed, and always choose patience and positive reinforcement over speed. Your dog will thank you—and so will your vet. If you're building a full grooming routine at home, ear care fits naturally alongside dental care and paw maintenance—all small habits that add up to a healthier, happier dog.
We carry thoughtfully chosen grooming tools and ear-care essentials in our collection, designed to make home care easier and gentler. Browse our grooming range and build a routine that works for you and your dog.